By Christa Peressini
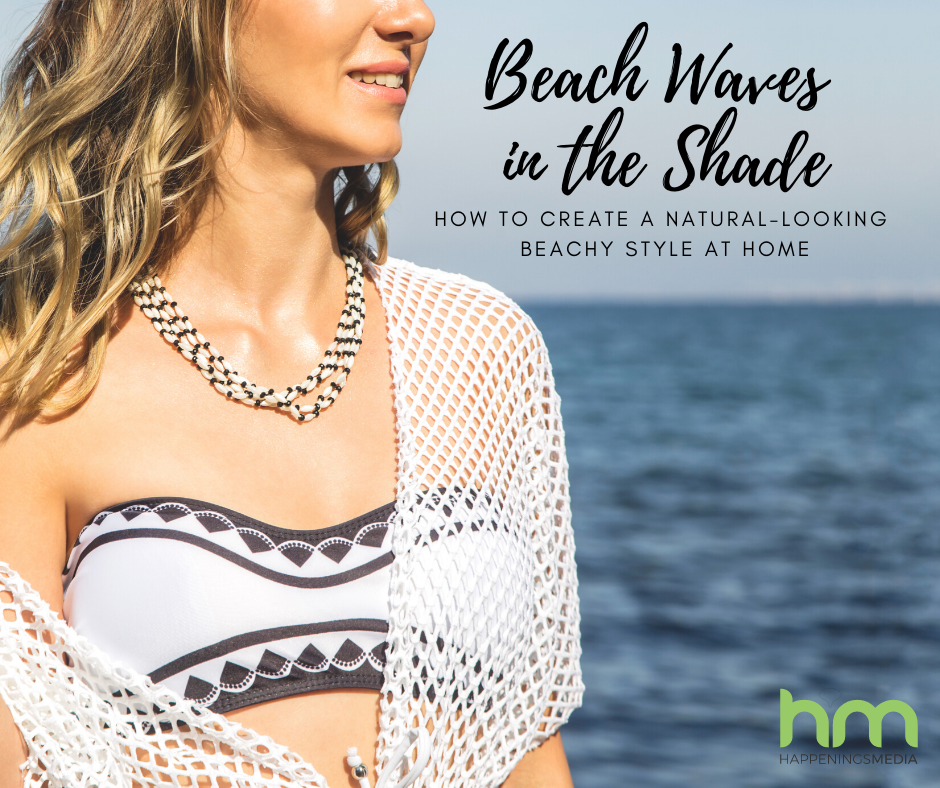
As much as we’d all love to start our days this summer with a dip in the ocean to get perfect salt-and-sun dried beach waves, for most of us, the reality of the current pandemic has gotten in the way. But while we may not be frolicking on a tropical beach, we can still achieve perfectly textured beachy waves at home with the help of a few pro tips.
“Beach waves have become one of the most wanted hairstyles out there,” says Dani Butler, stylist at David J. Witchell Salon & Spa in Peddler’s Village.
The trend has evolved over the years, from tighter, more formal curls, to the latest textured and more natural look. The reason, says Dani, is the popularity of the balayage hair color trend, in which haircolor is applied as if being hand painted on the hair. She says, “When hair is styled with beach waves, the color and dimension of the balayage really pops.”
But just as the “no-makeup makeup” look actually takes some effort to achieve, “effortless” beach waves take a bit of work as well.
The key to creating this style comes down to the prep work, says Sarah Offerman, stylist at Sarah Elizabeth Hair and Colour Bar in Morrisville. Before blow drying, she recommends first working a primer with heat protectant, like Keratherapy 20-in-1 Keratinfixx Cream, through damp hair, followed by a volumizing mousse, like Colorproof’s Control Craze.
Next comes the blowdry, where you’ll want to get the hair as smooth as possible, “but keep it soft,” Dani cautions. “Especially with fine hair, you’ll want to be careful not to stretch your hair too much, as this can make it difficult for the hair to retain curls and waves later on.”
Once the hair is dry, it’s time to break out the hot tools, whether that be a curling iron, a wand, or even a straightener. Both Dani and Sarah prefer a regular curling iron, as it’s easier to hold and use. For those with naturally straight or wavy hair, Sarah recommends using a 1” curling iron. Tightly coiled curly hair calls for a larger barrel. Begin by detangling dry hair into one to two inch sections, then take the curling iron and clamp it at the root of the first section. Pull the iron down while rotating the hair until the majority of it is on the iron, leaving the bottom half an inch to one inch out.
Both stylists agree that the trick when finishing the curl is to pull the iron off the hair in a downward direction, elongating the curl into a wave. Then work your way around the head, section by section. “You can switch the curl pattern towards the face and away,” says Sarah, “but style the waves around the face away, to keep hair out of eyes and frame your face.”
Sarah’s final pro tip is a trick to give the roots a little more volume. Take a 1” section of hair at the part line and clamp it with the curling iron at the root, holding the hairstraight up. In addition to volume, “it gives a more lived-in and natural look,” she says. “But if you’re going for a more perfect-looking beach wave, skip this step.”


When the whole head is curled, it’s important to let the hair cool down before finishing, as this helps ensure a longer-lasting hairstyle. Dani recommends finishing it all off with a dry texturizing spray to set thestyle. She spritzes Redken’s Triple Dry 15 while using her fingers to break the curls apart and to give the beach waves a looser, more natural look.
It may take a little bit of practice to get the hang of, but both Sarah and Dani agree it’s definitely a doable at-home look. “The best part about beach waves is that they’re supposed to look a little messy and imperfect,” says Dani. “They’re hard to mess up.”
The result? Gorgeous hair, no salt water required.
We Are Supported By:


